Create and Manage People Pools
In this section, we explain what people pools are, how people pools are set up by the workspace admin and how they can be managed by the pool admin.
1. What are People Pools and when to use them
Usually, an expert is connected to a certain craft, business unit or core team. With people pools, we enable you to group experts according to these organizational structures. Workspace admins can create pools and appoint direct supervisors called pool admins.
Assigned pool admins have the right to add pool members to their pool. Pool admins can edit skill profiles of their pool members, change their base capacity, update their time-off, view experts’ project roles and check the utilization within the pool. Depending on the settings, they might also change project assignments of their pool members.
As a workspace admin you decide how to manage your experts, based on your organizational structure: you can do it yourself, or appoint other workspace admins for this purpose, or alternatively, you can create people pools and appoint pool admins to delegate the administrative aspects to them.
2. Create a Pool, Edit Settings, Delete a Pool
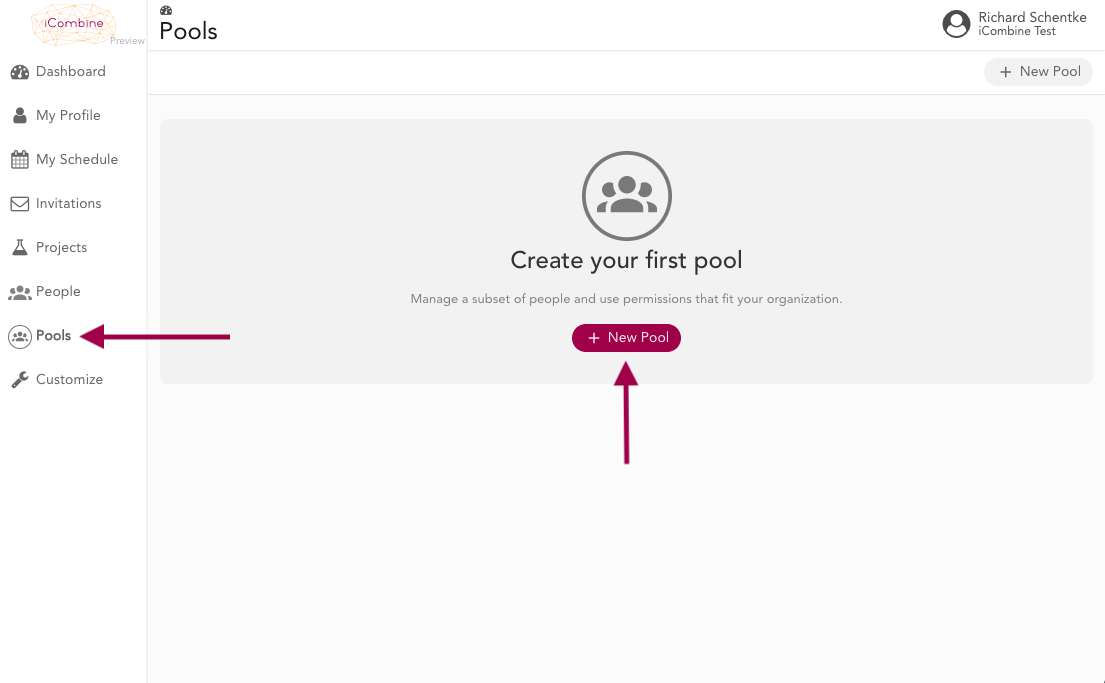
2.1 Navigate to Pools
Go to Pools. As a workspace admin, click on + New Pool.
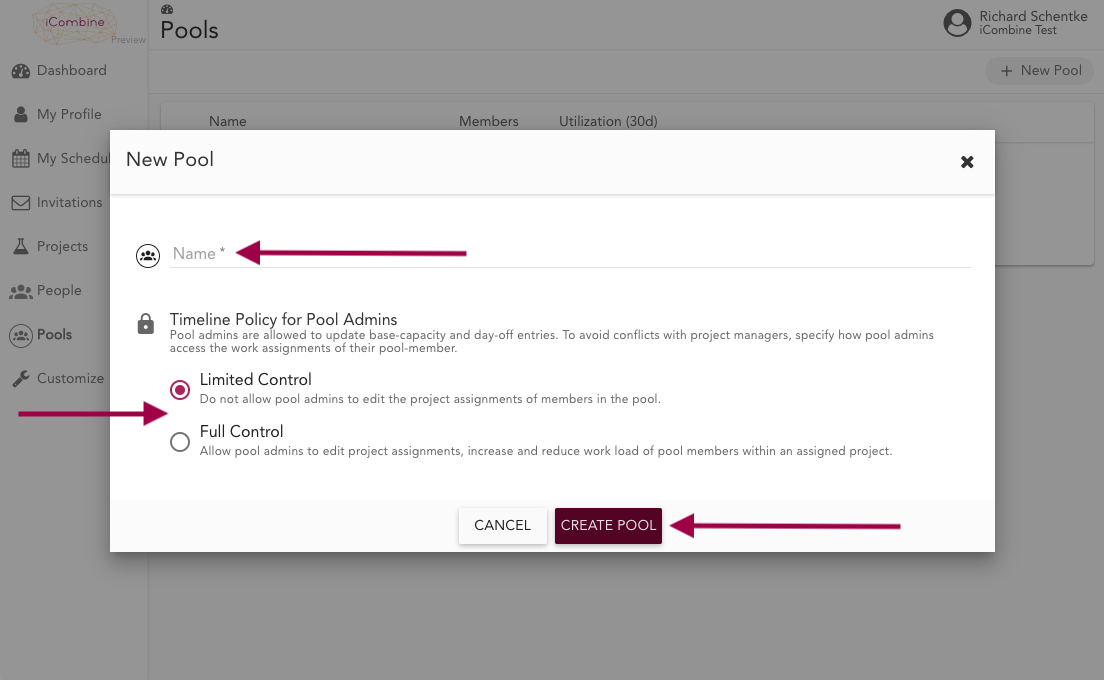
2.2 Assign Pool Name and Policy
In the pop up screen, type a name for the new pool. Below, you can define how much influcence the pool admin has by setting the timeline policy.
Limited Control means that pool admins can see the project assignments of their pool members and add time-off (such as holidays or sick leave). But they are not allowed to change the times within an assignment. This prevents conflict with project managers who typically assign experts to projects by booking times.
Full Control means that pool admins are also allowed to edit project assignments. They might increase and reduce work load of pool members within an assigned project just like a project manager.
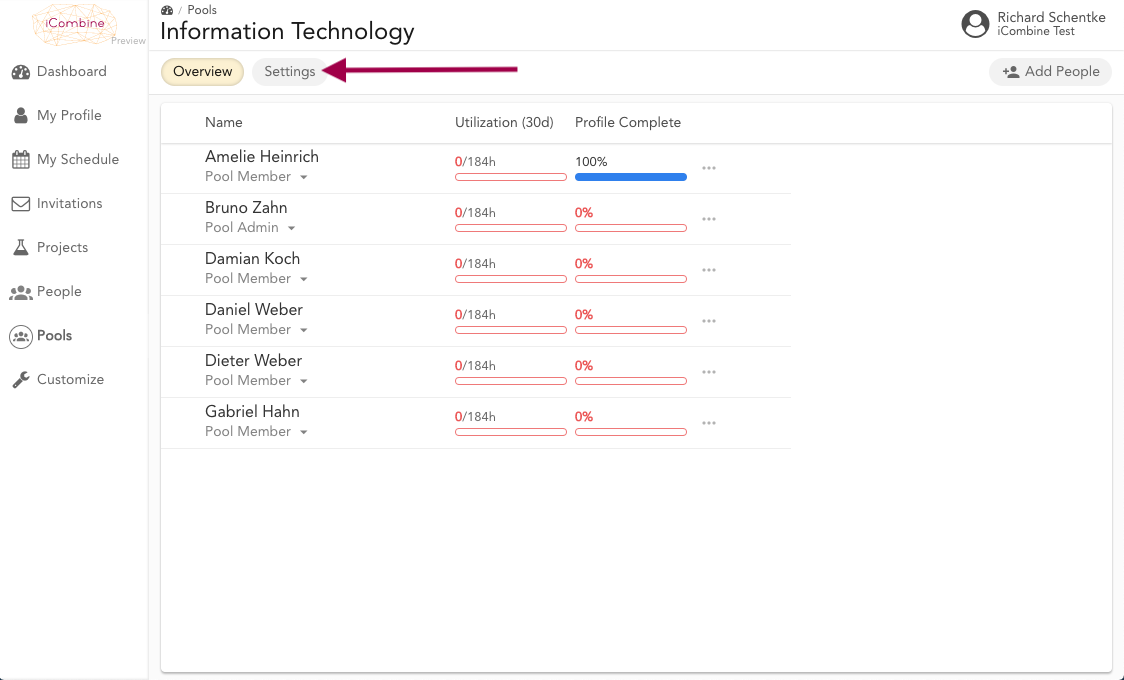
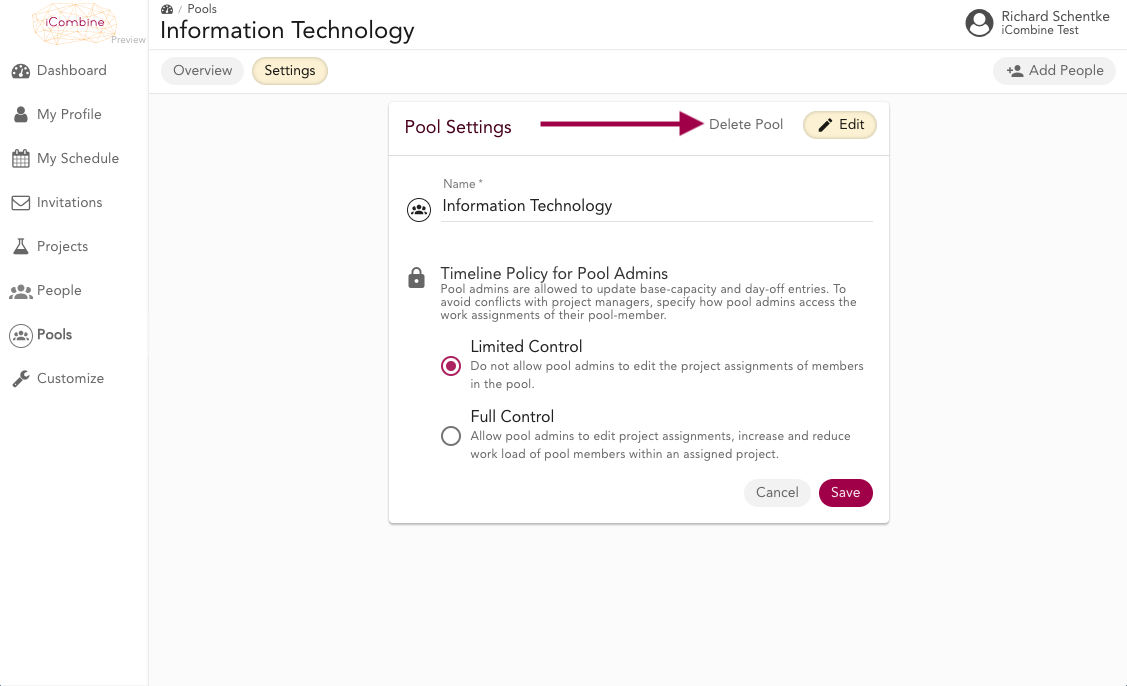
2.3 Edit Pool Settings
As a workspace admin, you may edit the settings of a pool at any time by clicking on Settings within the pool.
2.4 Change Pool Name and Policy
Within the settings, click on Edit to change the pool name and timeline policy for pool admins as described in 2.2.
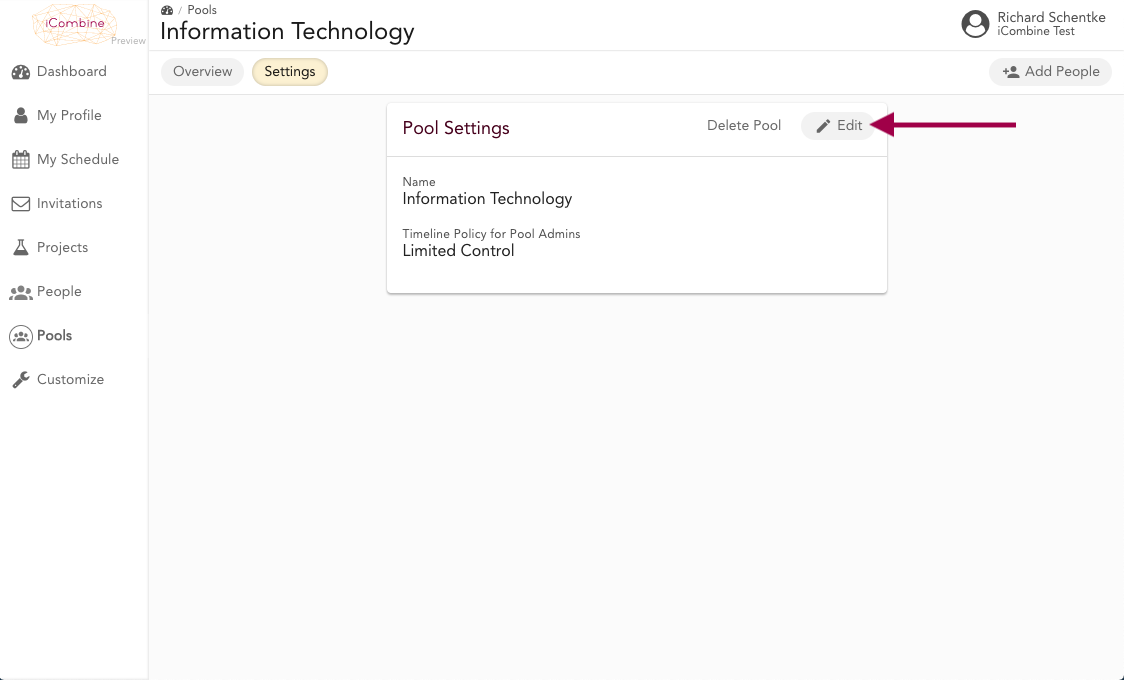
2.5 Delete a Pool
As workspace admin, you can delete a pool by choosing Delete Pool.
3. Add People and Admins to a Pool
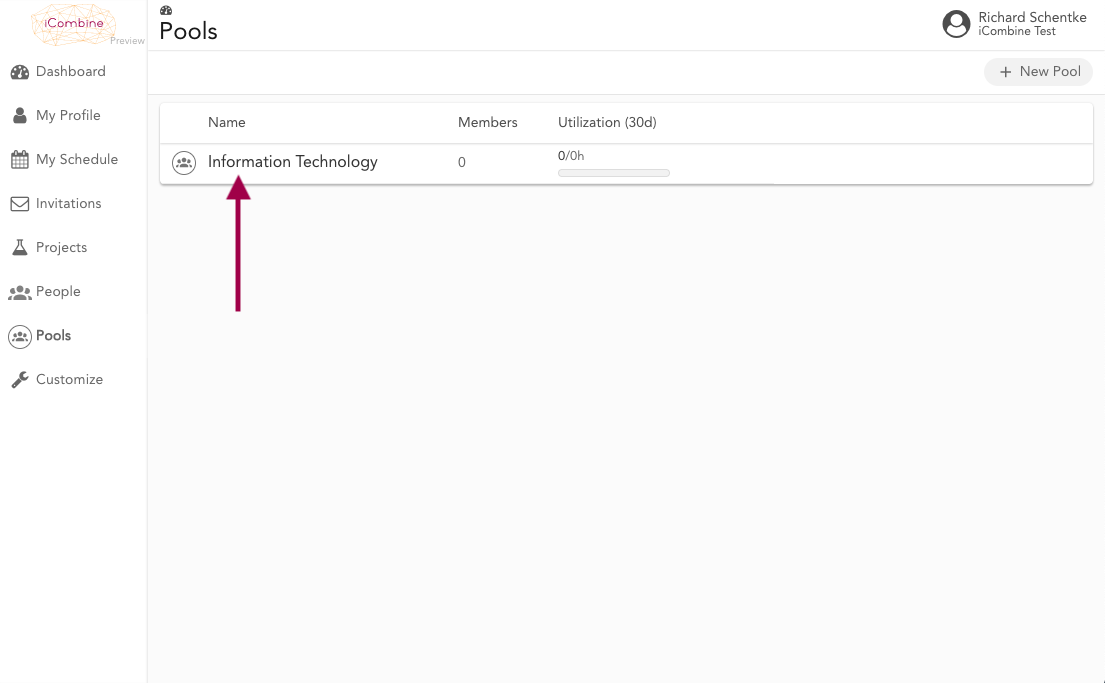
3.1 Go to a Pool
Within Pools, you will see every pool that has been created.
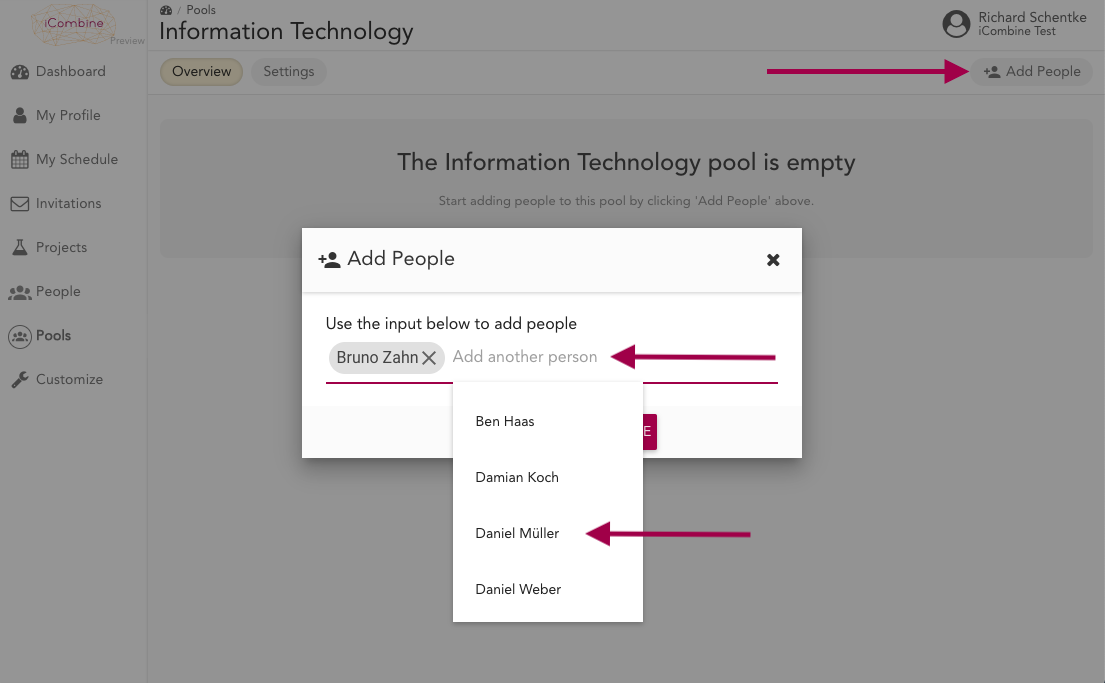
3.2 Select new Pool Members
As workspace admin or pool admin, click on Add People. In the pop up screen, use the input line to type the name of an expert you want to add. Then, click on the expert from the suggested list to add him or her. Repeat these steps to add more people.
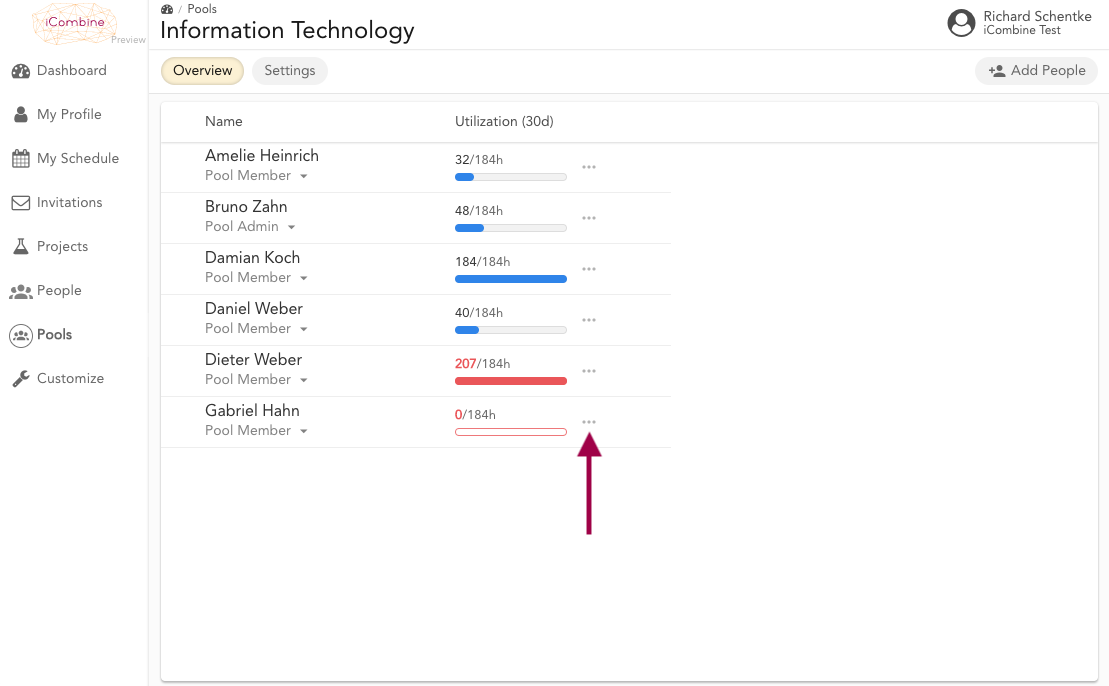
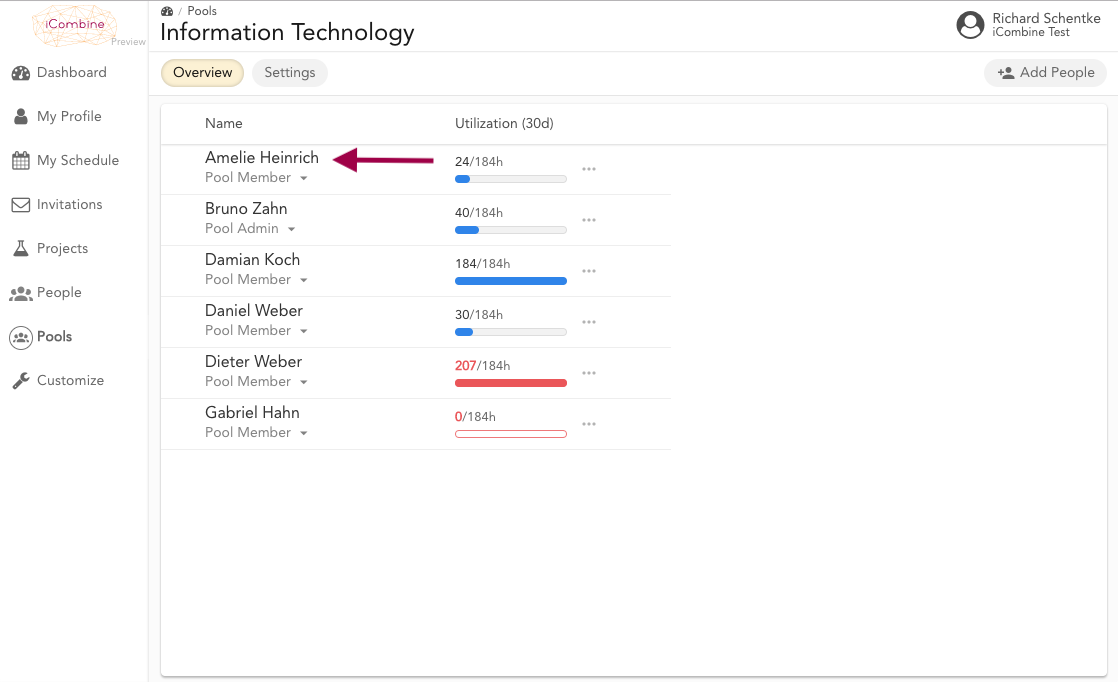
3.3 Appoint and Remove Pool Admins
Within the pool, you will see all added members and their status. By default, every previously added expert is a normal pool member. As workspace admin, you can appoint a pool admin by clicking below a persons’ name. Then, simply choose Pool Admin.
Once a pool admin has been appointed, this person can add other pool admins.
The pool admin status of a person can be revoked by changing the status to Pool Member.

3.4 Remove Pool Members
To remove a pool member, click on the tree dots menu besides the persons’ name and choose Remove Member.
4. View Pool Statistics
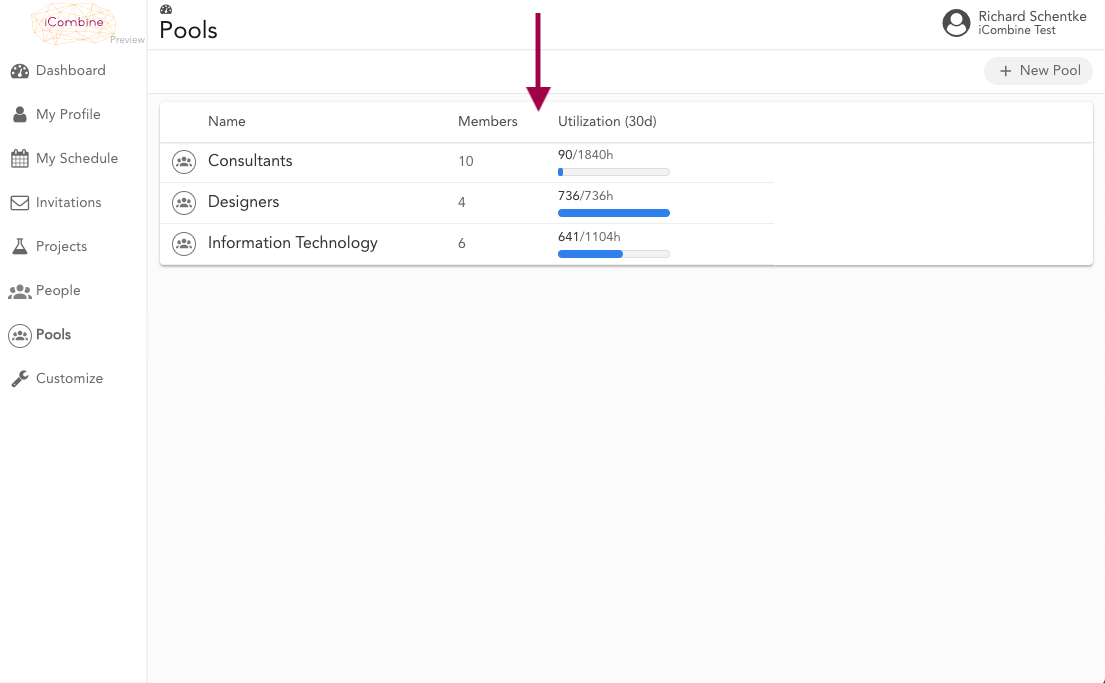
4.1 Overview of all Pools
In the pool section, you will see all pools that have been created in the workspace as well as the amount of members per pool. Furthermore, workspace admins also get information about every pools’ utilization. Pool admins can only see the utilization of their own pool.
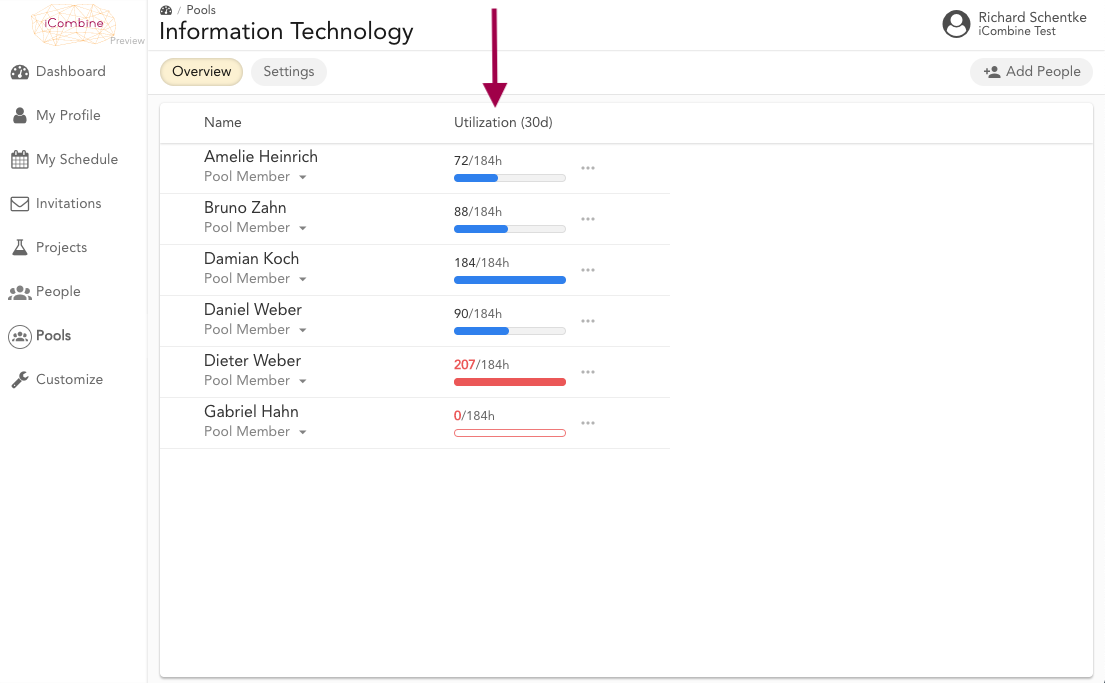
4.2 View Utilization within a Pool
Within the pool, pool admins and workspace admins see the utilization of each pool member. Here, conflicts such as idle time and overutilization will also be highlighted.
5. Manage Pool Members
5.1 Edit Skill Profiles and Base Capacity of Pool Members
As pool admin, you may edit the skill profiles of your pool members and change the weekly base capacity. Therefore, go into the pool and click on the name of an expert.
You will find instructions on how to proceed by reading the guideline Onboarding of Experts. There, go to 2. Define Weekly Working Hours and 3. Edit Competency Profiles of your Experts or Placeholders.
5.2 Add Time Off to a Pool Member
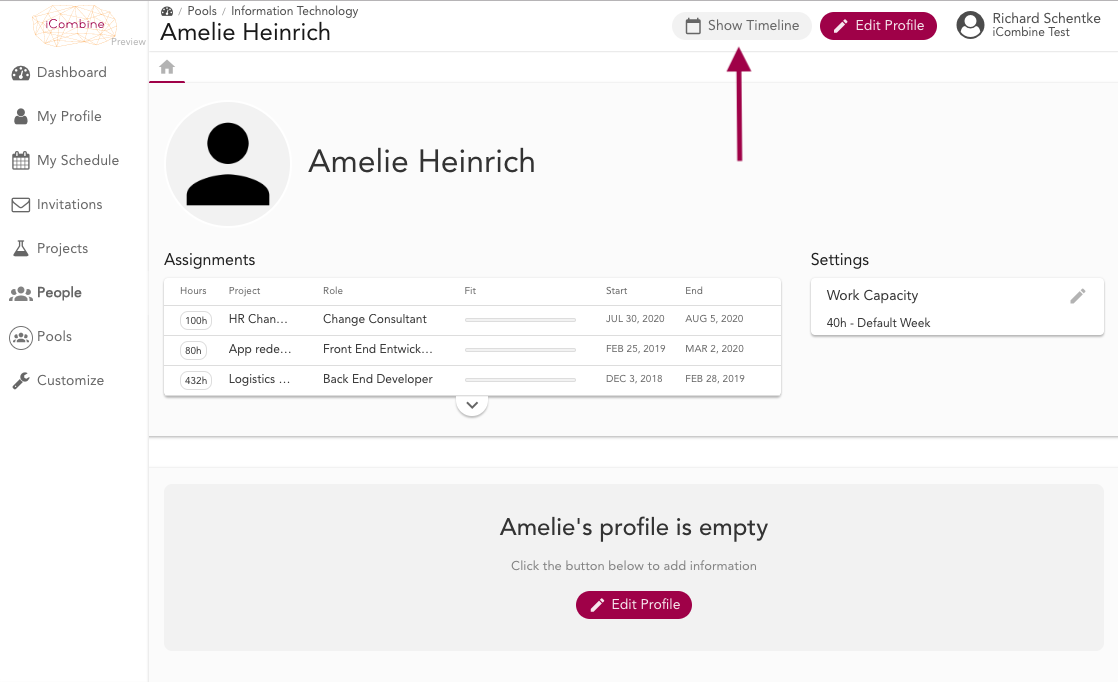
As pool admin, you can add holidays or sick leave to each pool member. Therefore, go into the pool and click on the name of an expert as shown in 4.1. Then, switch to the timeline of the expert by clicking on Show Timeline.
You will find instructions on how to proceed by reading the guideline Edit Time Off starting at 1.2 Go to the Timeline of the Expert.
5.3 Change Project Assignment of a Pool Member
Pool admins with full control rights (see 1.2) are allowed to change the project assignments of their pool members.
As a pool admin, click on the name of an expert within your pool (see screenshot 4.1). In the experts’ profile, you will identify current project assignments on top. To edit those, click on Show Timeline (see screenshot 4.2).
In the timeline, you get an overview of running project assignments in the current time frame. To go back or forward in time, use the arrows on top. You can also switch from daily view to weeks or months.

To change the booked times within an assignment, click on any start date you want to edit, then drag & drop to the end date you want to edit. On the right side of the screen, a menu will appear. Here, you can edit or delete the assignment.
